
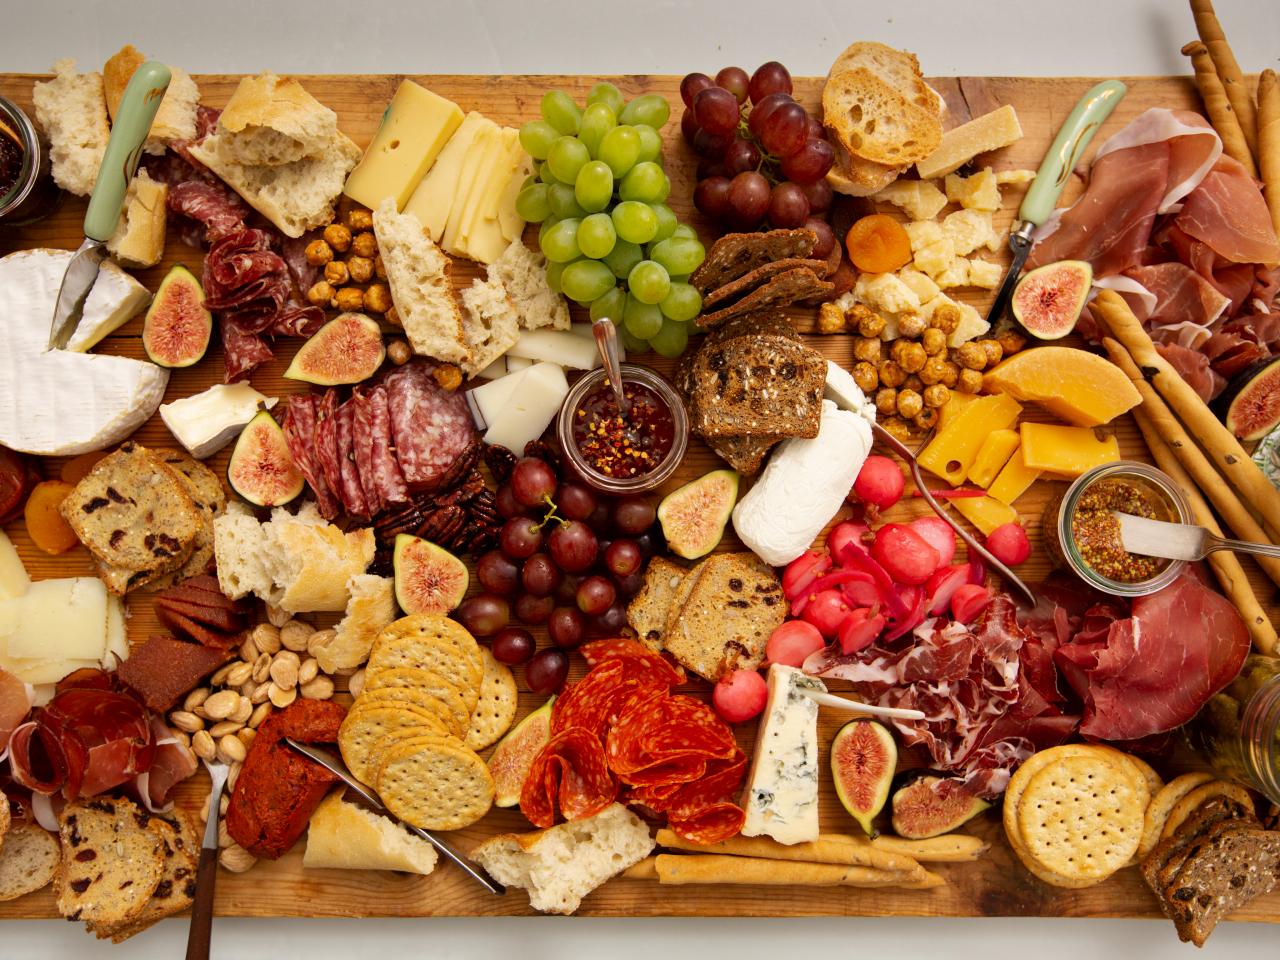
So you have company coming over and you bought a charcuterie board or tray, but you aren't sure where to go from there when it comes to shopping for and assembling what you hope will be a stunning array of munchies worthy of praise from Gordon Ramsay himself.
Have no fear! It's not as daunting as you might think, and it can actually be fun.
What You'll Need for a Charcuterie Board
This is a comprehensive list, but you don't need everything on it:
- A board or tray to hold the deliciousness
- Meats: a variety of salami, summer sausage, kielbasa, pepperoni, chorizo, etc.
- Cheeses: at least 3 varieties, mostly stronger cheeses such as sharp cheddar, pecorino, brie or Swiss. Spreadable cheeses or a cheeseball wouldn't be out of place either.
- Briny bites: olives, pickles and marinated vegetables
- Nuts: almonds, pistachios and cashews are all wonderful choices
- Fresh fruit: grapes, berries, cherries, apple slices, etc.
- Dried fruit: apricots, prunes, mango, cranberries
- Crunch: crackers, melba toast or crostini
- A jam or jelly: red pepper jelly or currant jelly are two of my favourites
- Small ramekins or dishes for berries, jam and other wet items, so they don't roll off the board, make everything sticky or turn your crackers soggy
- Serving utensils: a spreader for soft cheese, a small spoon for the jelly, and a fork or pick for the olives
How to Build a Charcuterie Board, Step by Step
Step 1: Start with the Cheese
Cut your cheeses into a variety of shapes: chunks for harder cheeses like pecorino, cubes for cheddar or Swiss, and a cheeseball is a cheeseball, so round for that! Spread them out in different areas around the board.
Step 2: Arrange the Meats
Arrange the meats in groups. Salami slices can be turned into a rose if you like (see the video below for an easy way to make one), cut in half, or left whole and arranged in a line or circle. Be creative with it!
Pepperoni can be cut into chunks and left in a pile, and the kielbasa and chorizo can be sliced and arranged however you'd like.
Step 3: Add the Fruit
It's perfectly acceptable to put berries directly on the board, but I prefer to keep small, round, wet items separate from crispy ones, so I usually place them in a small bowl or ramekin.
Grapes are usually left on the stem, so they can go right on the board. Just dry them as much as possible and keep them closer to the cheeses and meats than the crackers.
Tip: Keep anything wet or juicy away from your crackers and crostini so they stay crisp.
Step 4: Place the Pickles, Olives and Marinated Veggies
Put these in small dishes and scatter them around the surface of the board.
Step 5: Fill in the Gaps
Now you can see how full or empty your board is. Do any rearranging you'd like, then go to town filling the empty spaces with dried fruit, nuts and crackers.
Optional: Add a Sweet Touch
Some people like to add wrapped candies or chocolates for visual appeal (and, let's face it, eating pleasure too), so feel free to throw some into the mix.
Most Importantly, Have Fun with It
Putting together a beautiful charcuterie board can feel intimidating at first, but when you get right down to it, it's not that hard. Given how tasty everything will be, no one is going to complain about your presentation, so have some fun with it!
Ready to build your board? Explore all of our charcuterie boards and trays.